
Do you want to start a free blog on WordPress? Well, good news for you:
Starting a blog on WordPress is very simple. You’re just a few clicks away from starting your own website. In this article, I’m going to show you step-by-step how to create a free blog on WordPress.
From naming your blog to choosing a theme, I have covered everything in this article. So let’s get started.
You will be creating your free blog on WordPress. WordPress is a blogging platform where you can easily set up your website and customize it in countless ways.
Before we get into the real stuff, you should know the difference between WordPress.com and WordPress.org.
- Between Difference WordPress.com & WordPress.org
- How To Create A Free Blog On WordPress
- WordPress Blog Email Log-in
- Complete Your WordPress Set Up
- WordPress Theme Customizer
- Adding Pages In Your Blog
- Adding Posts In Your Blog
- Managing Comments On Your WordPress Blog
- Viewing Your Site Stats
- FAQ On How To Start A Free Blog On WordPress
Between Difference WordPress.com & WordPress.org
Before we dive in, it’s worth clearing up a common point of confusion. There are two WordPress platforms, and they work very differently:
WordPress.com is a hosted platform. You sign up, and your site lives on WordPress.com’s servers — no separate hosting required. The free plan gives you a subdomain that looks like this:
yoursitename.wordpress.com
It’s the easiest way to get started, but the free plan is limited. You can’t install custom plugins or themes, monetization options are restricted, and you’re stuck with the subdomain unless you upgrade. Paid plans unlock a custom domain (.com, .net, .org, etc.) and more features.
WordPress.org is the self-hosted version — and it’s what most serious bloggers and businesses use. You download the WordPress software for free, but you bring your own hosting and domain. In return, you get full control: any plugin, any theme, full monetization freedom, and no platform restrictions.
Of course, “free software” doesn’t mean “free website.” Once you factor in hosting, a domain, a premium theme, and any paid plugins, the real numbers add up quickly — which is why it’s smart to run your plan through a website cost calculator before committing to a setup. That way you know what you’re actually signing up for, whether you go the WordPress.com or WordPress.org route.
Since this tutorial is about creating a free blog, we’ll be using WordPress.com to set it up.
Let’s begin.
How To Create A Free Blog On WordPress
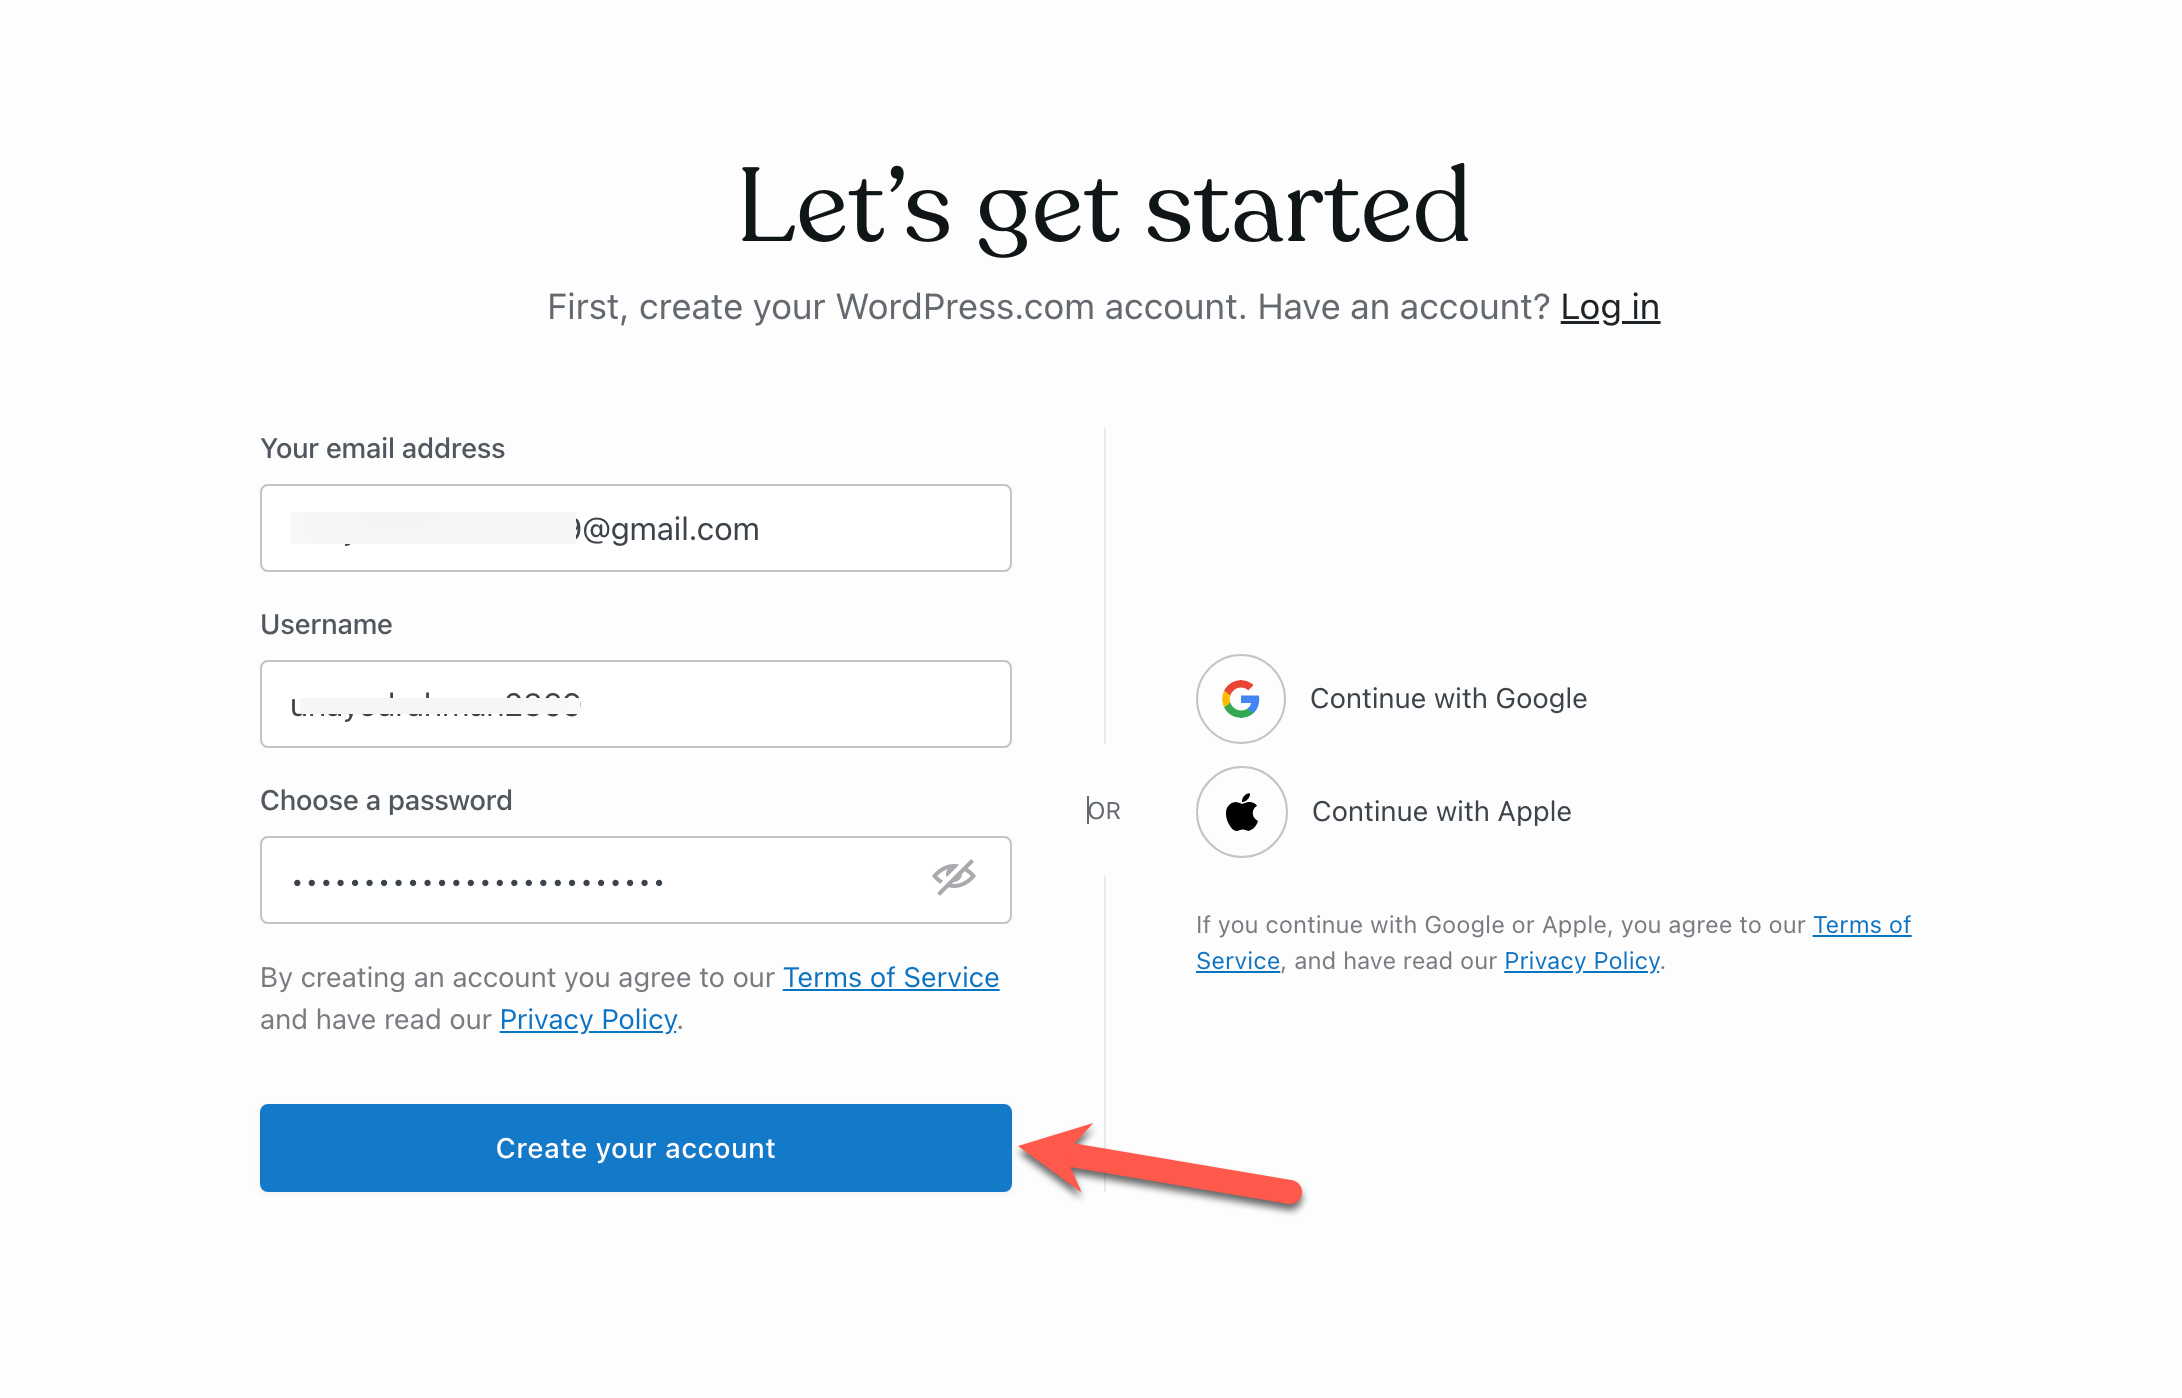
First, go to WordPress.com and click on the ‘get started ‘Get Started’ button. There are 4 steps to start your own blog.

Now you have to enter your email address, username, and password to create your WordPress account.
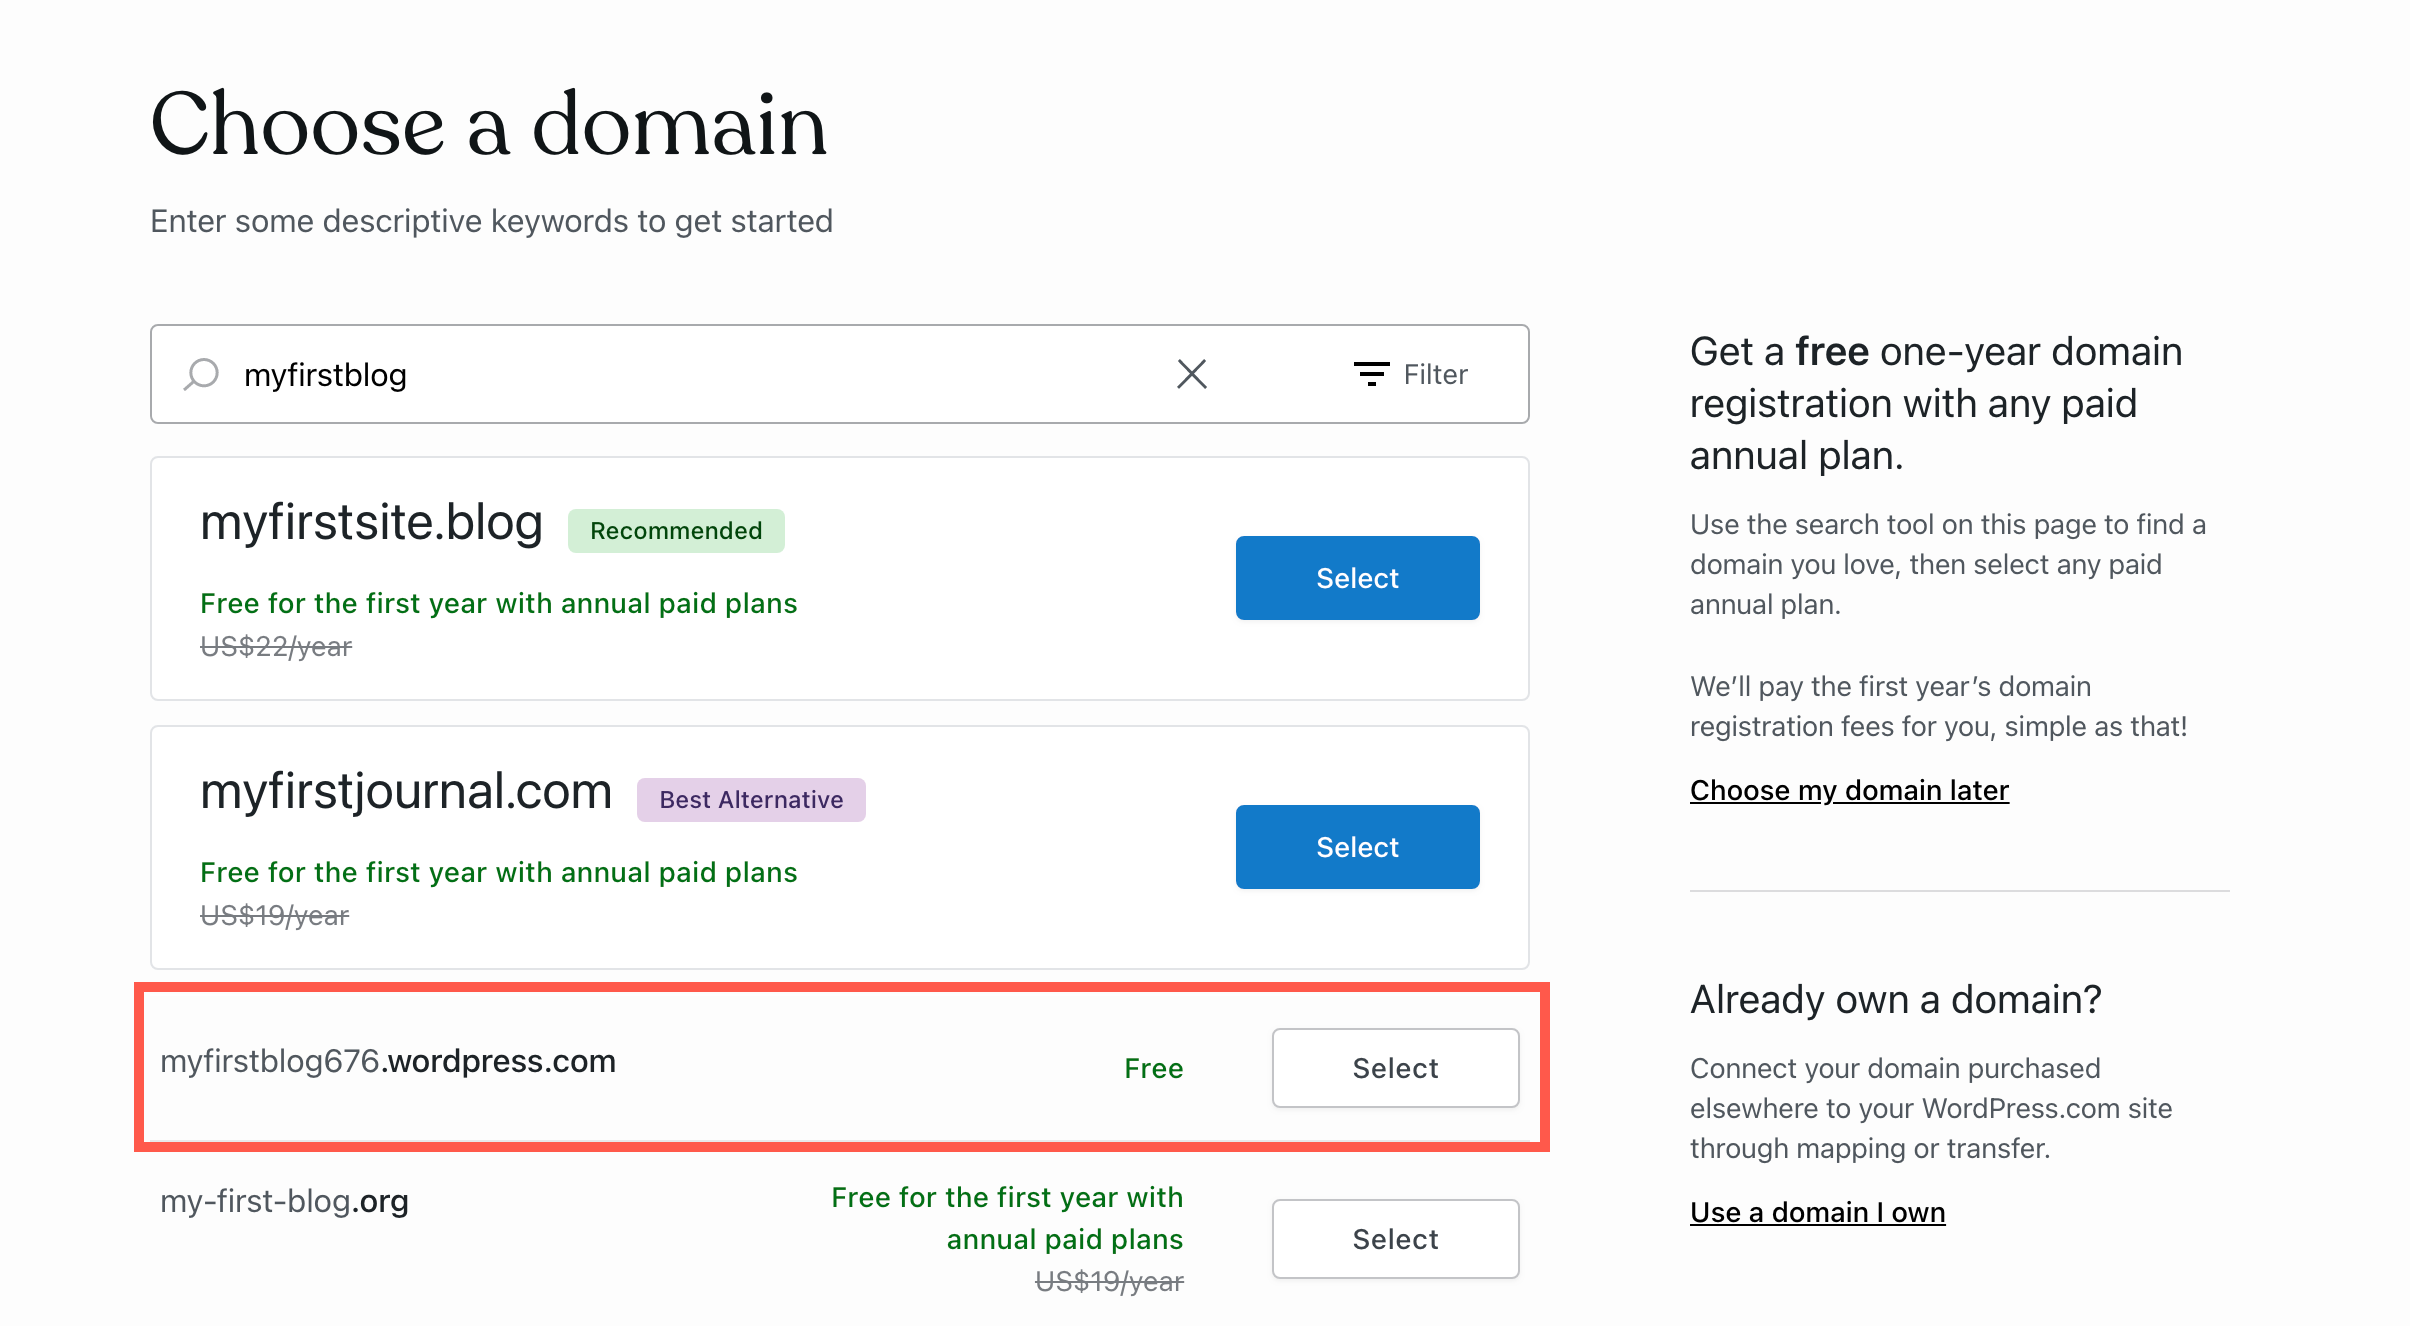
Next step is to choose a domain name. Just enter a name and it will suggest you the available domains. As we are going to create a free site, we need to select the free domain name.
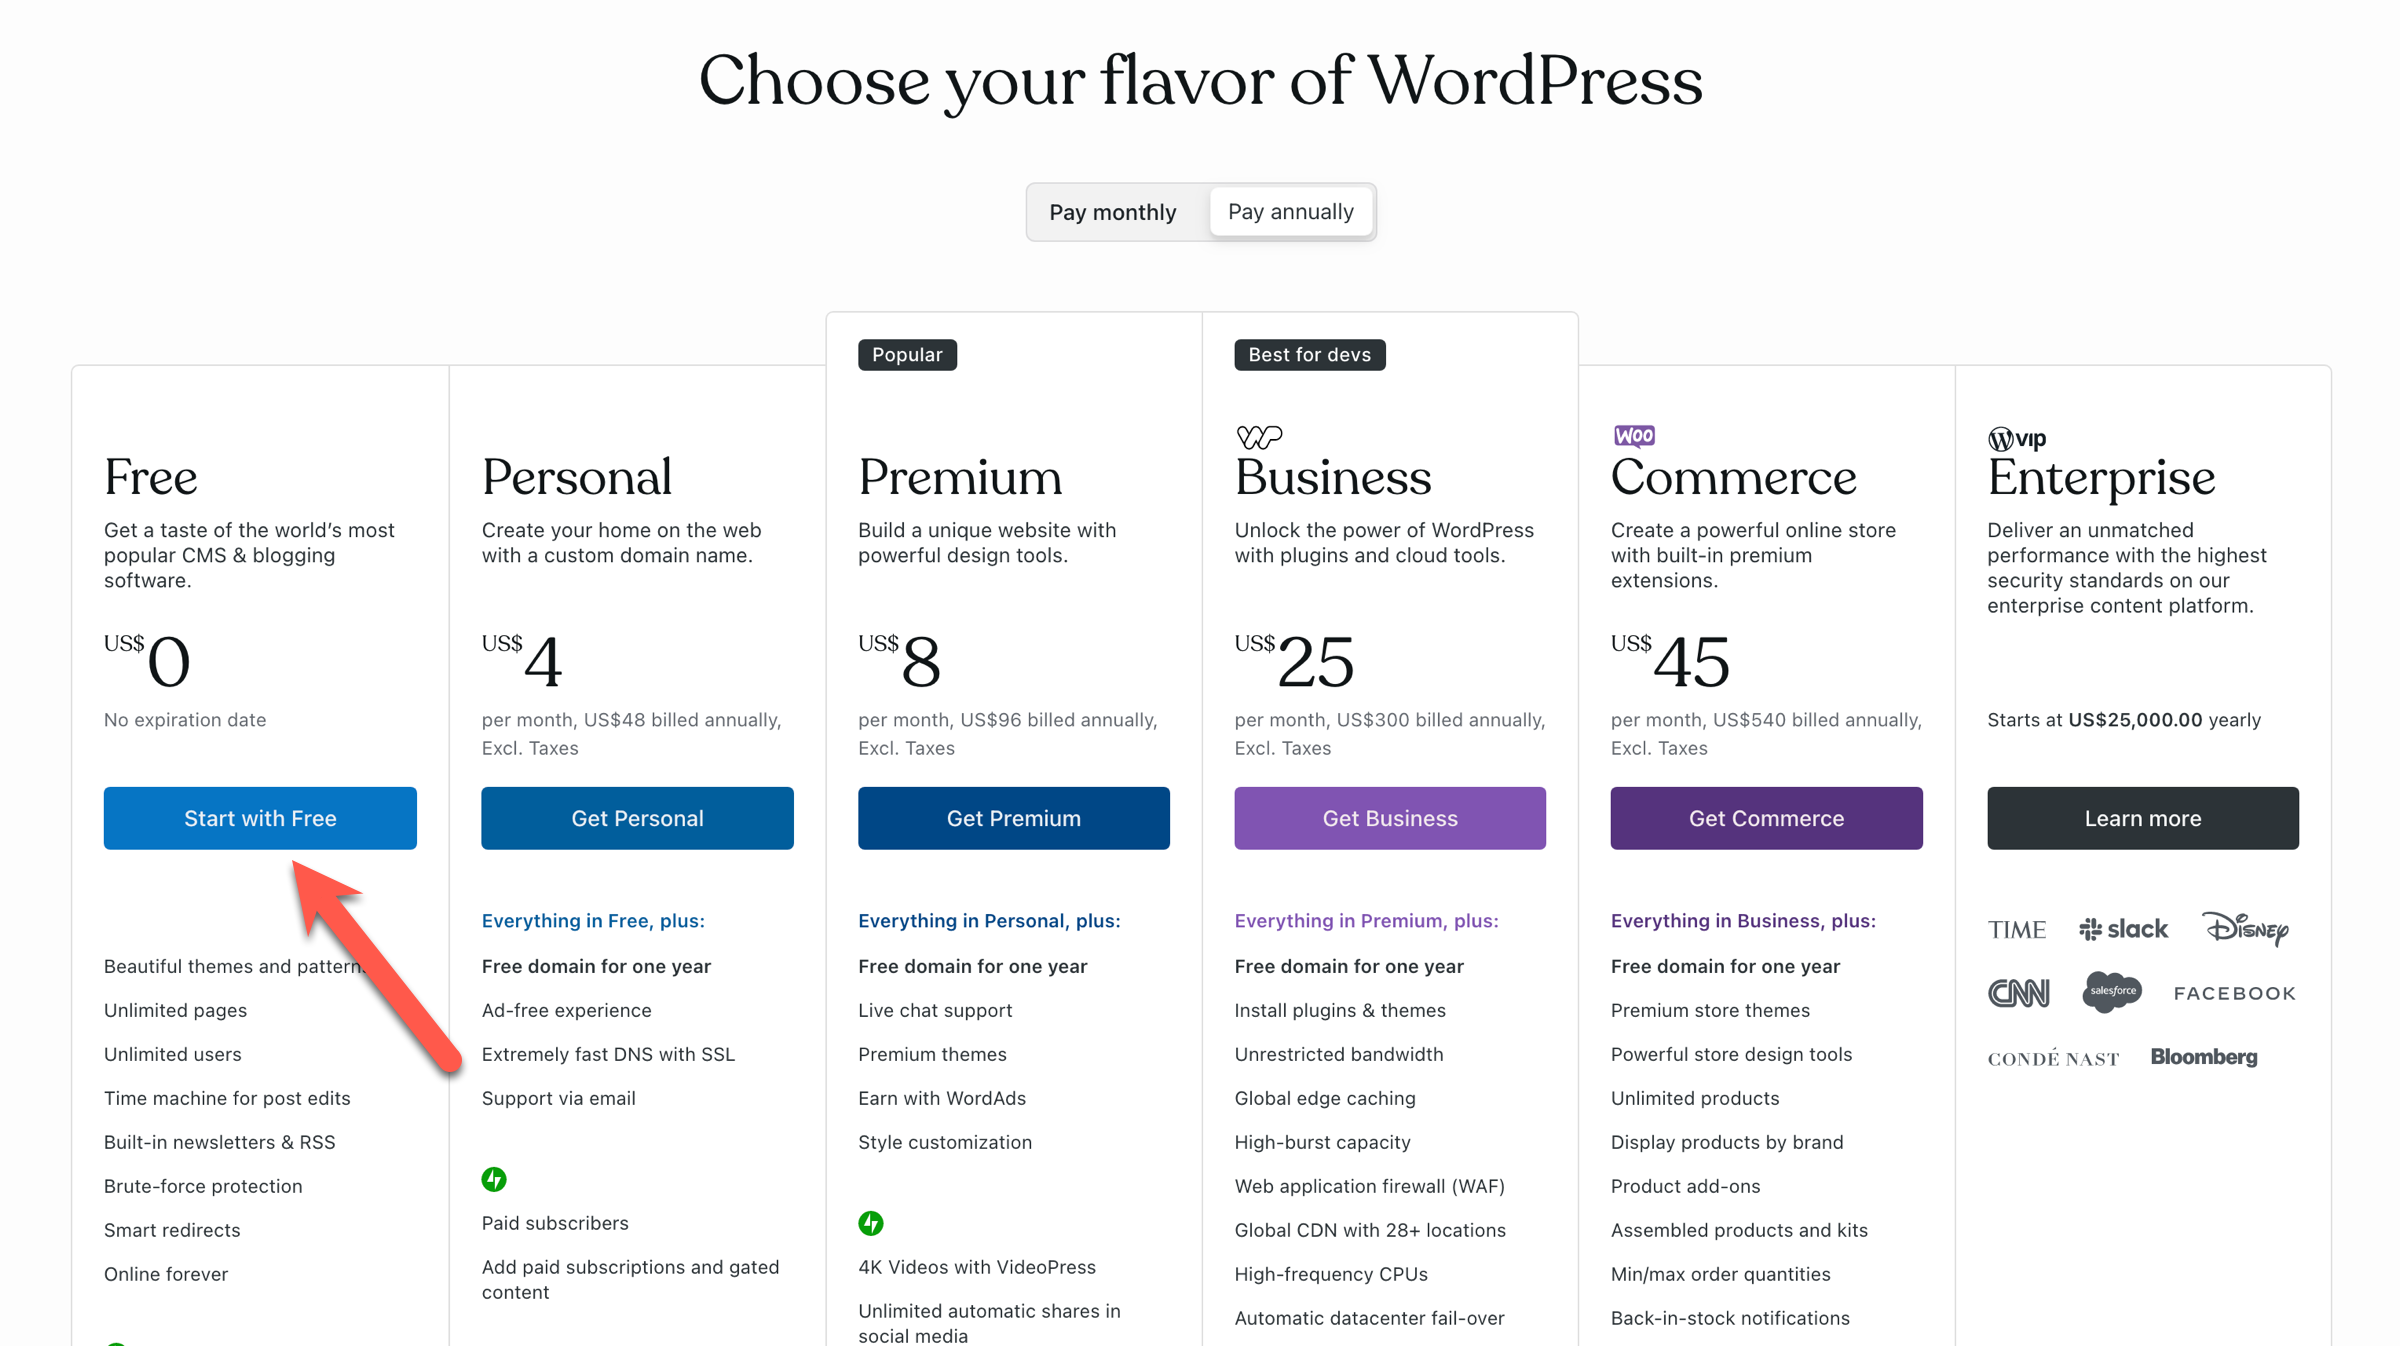
The next step is to pick a plan. WordPress has six different plans but right now, we’ll stick to the free plan.
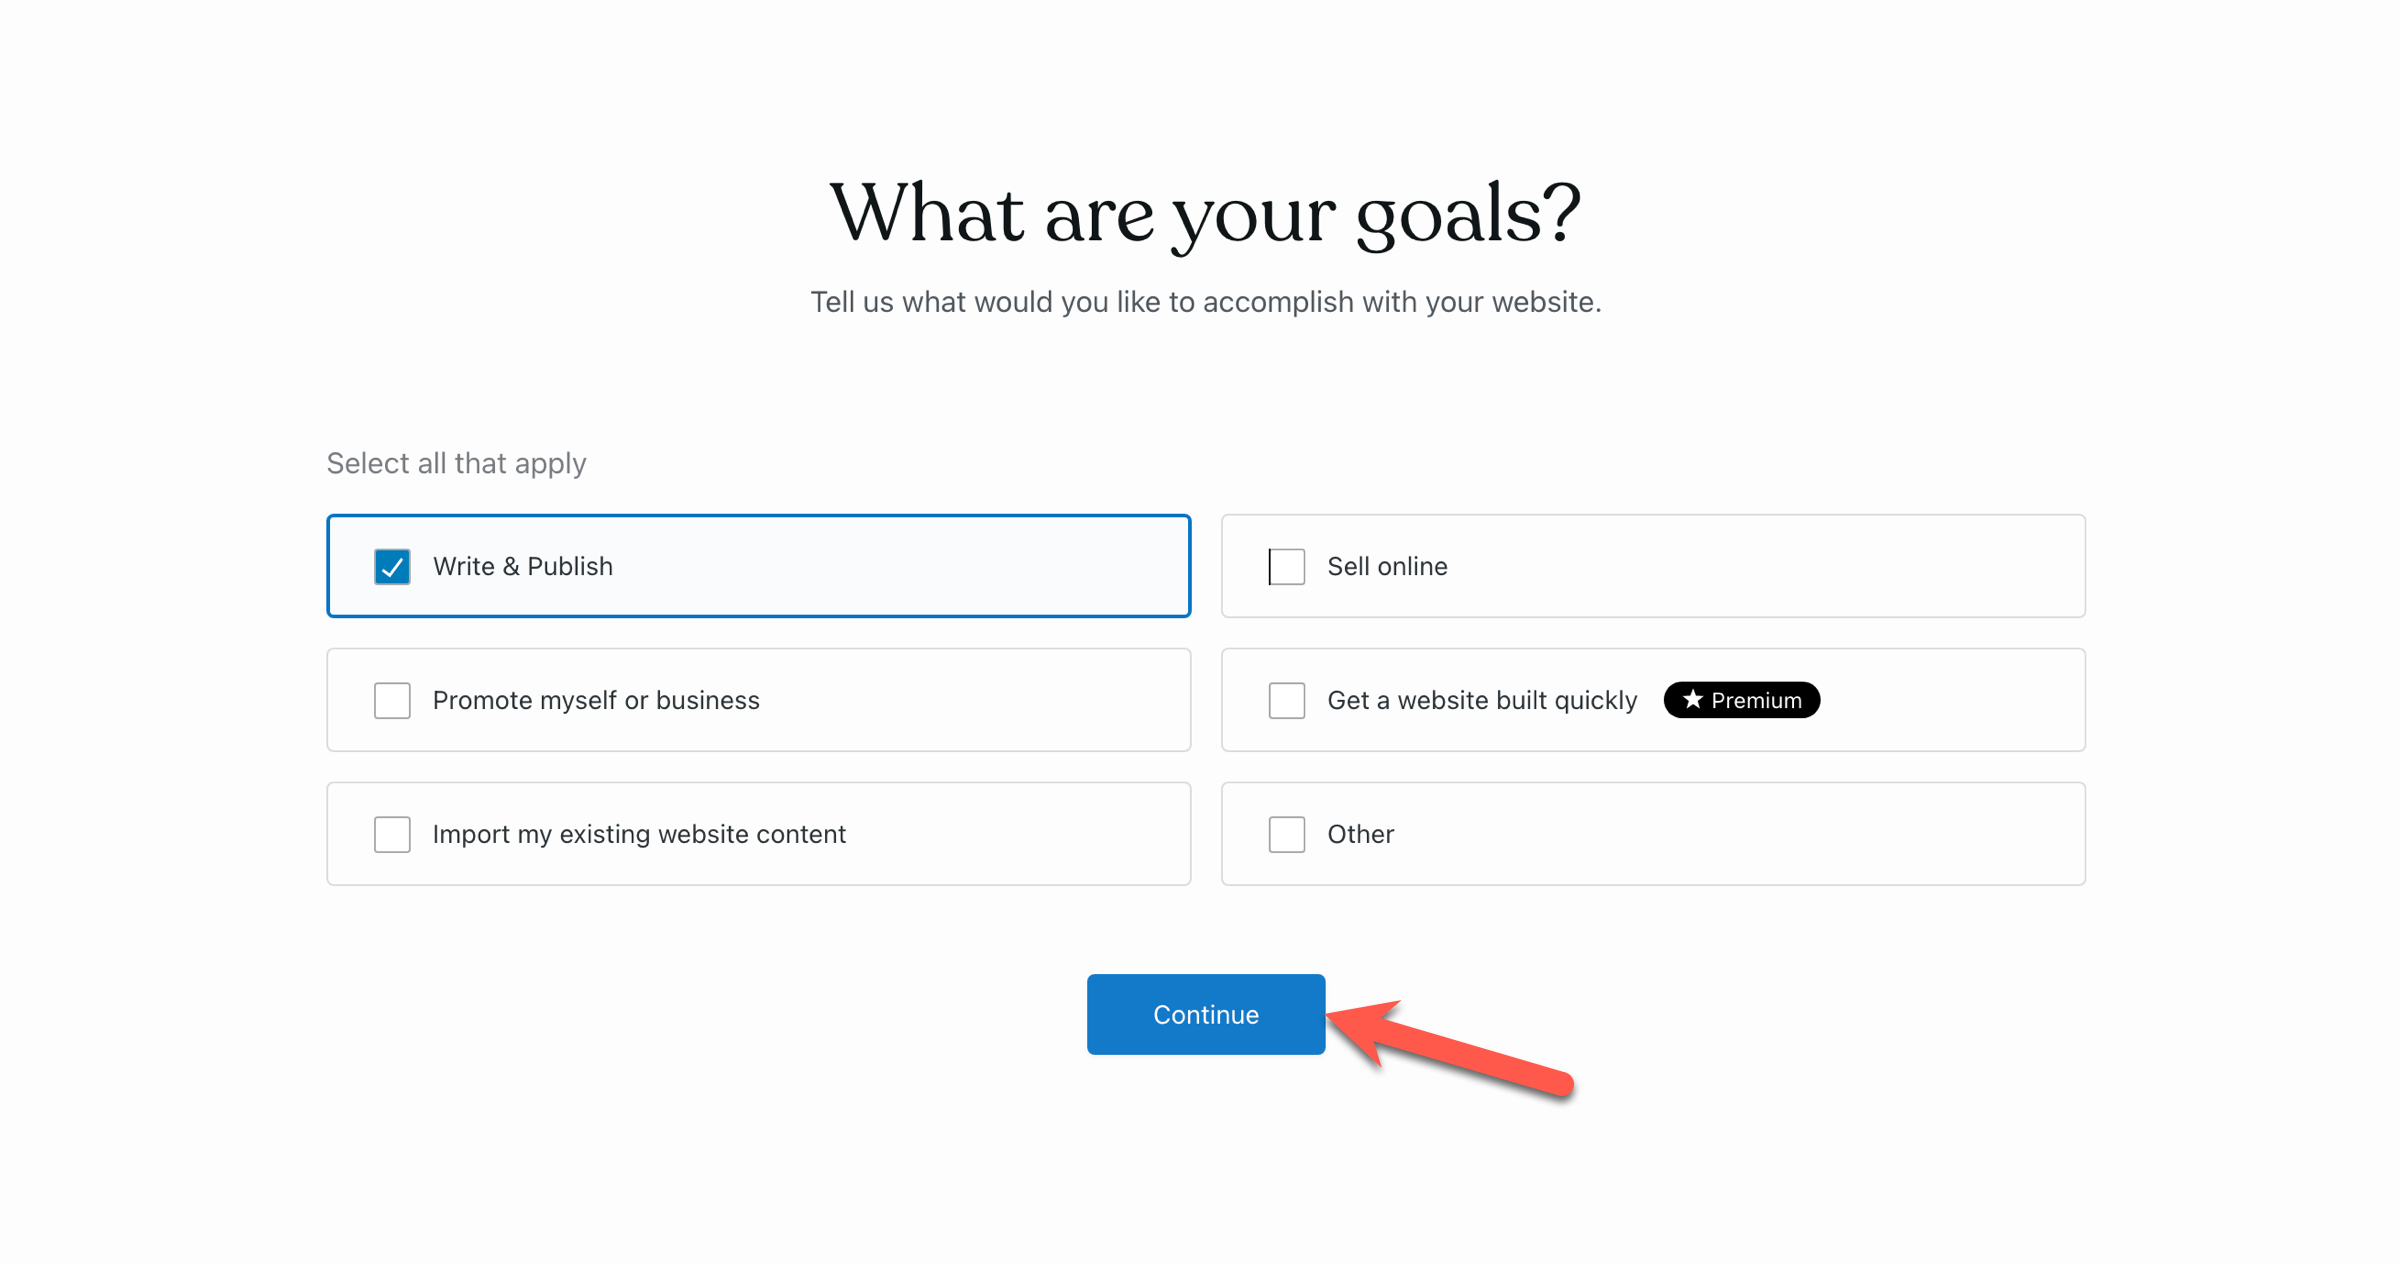
Now you need to select the goal you have with this site and your experience of creating a website and click on the ‘Continue’ button.
Then give a name to your blog and add a tagline.
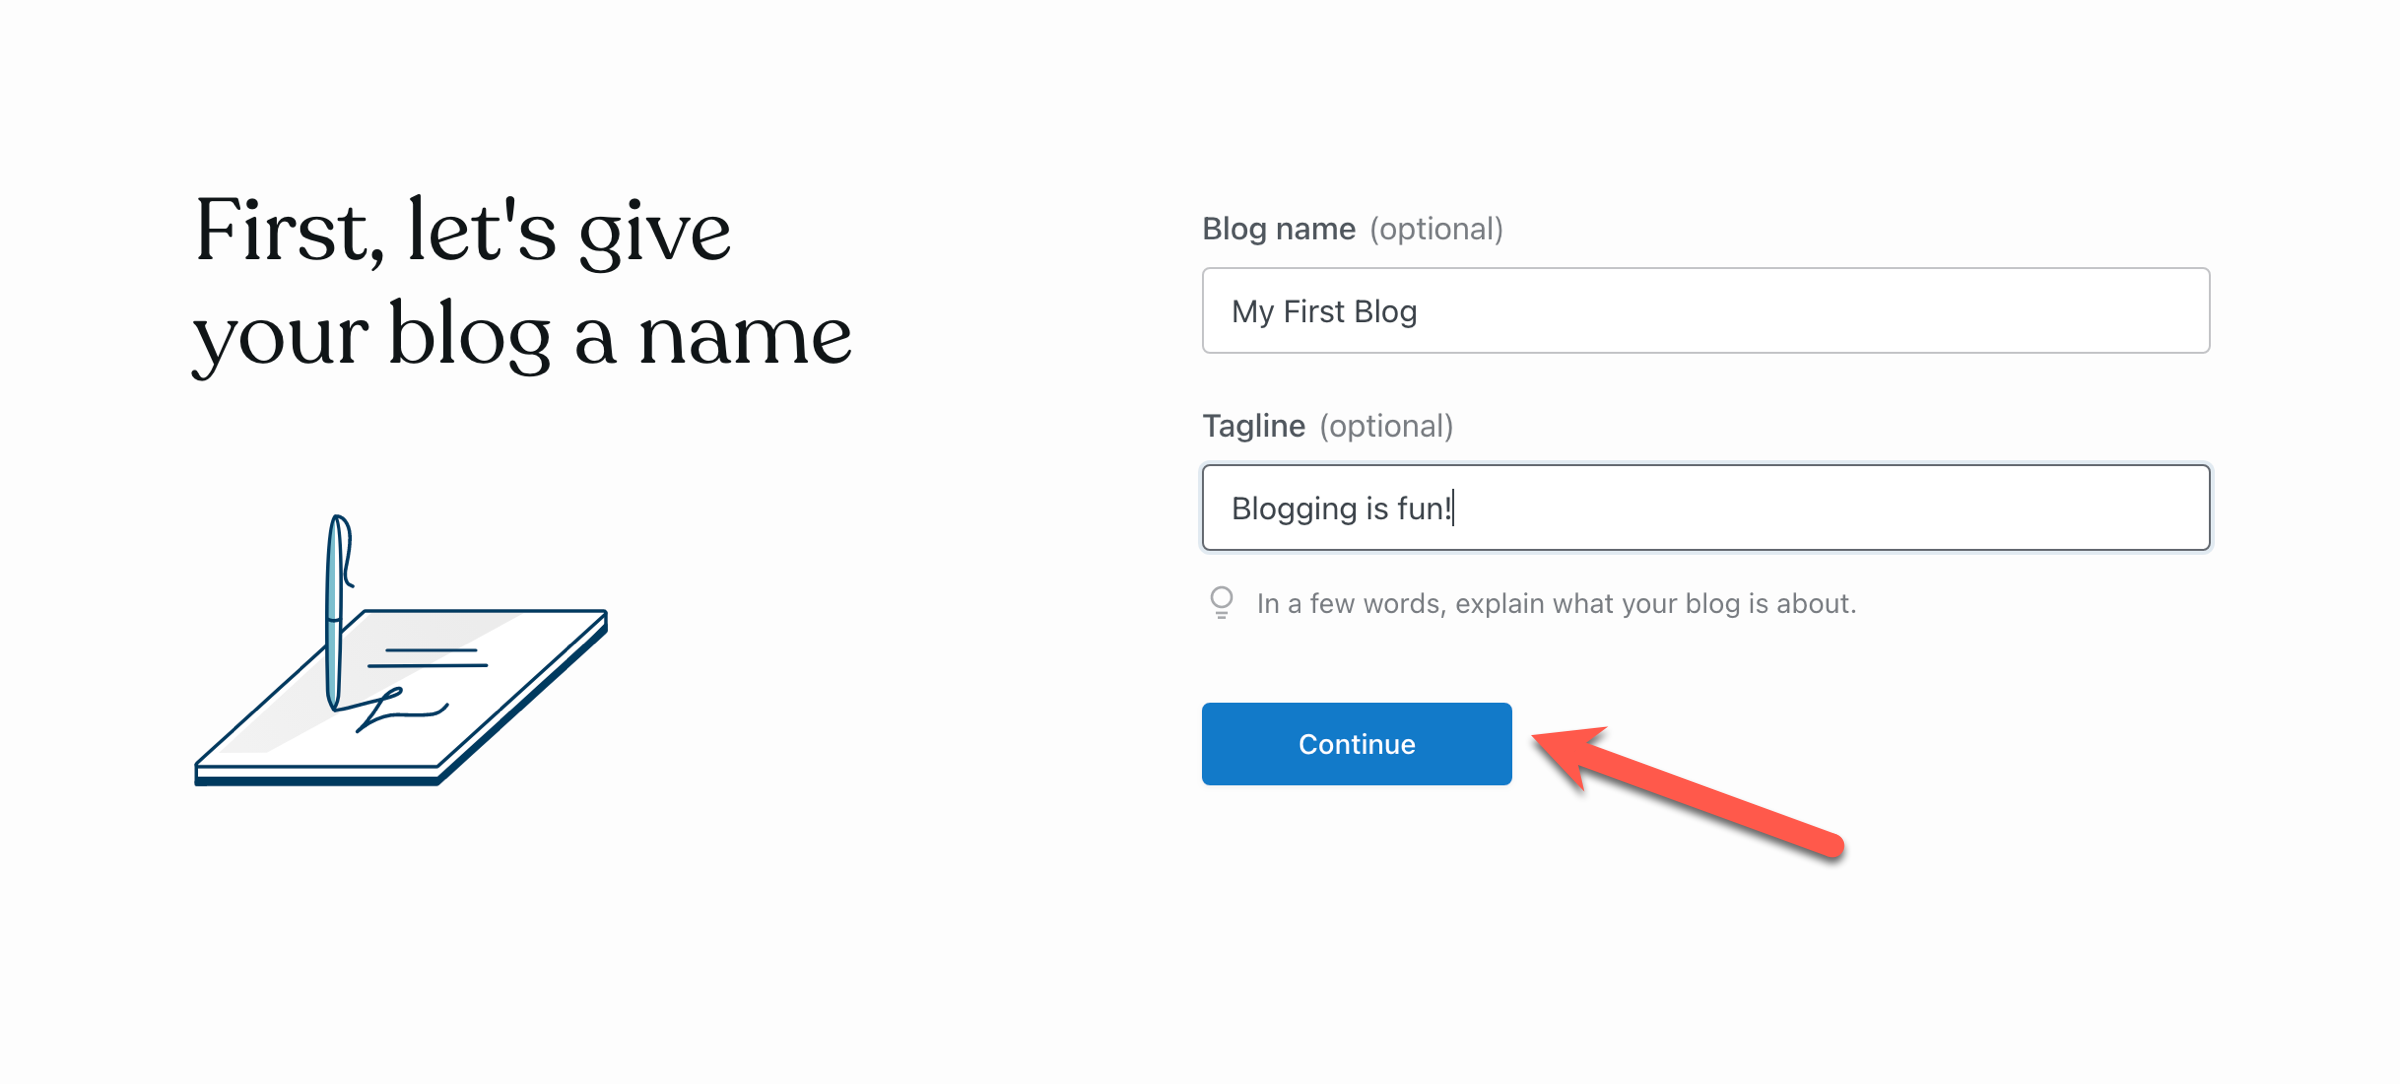
Congratulations! Your free WordPress blog has been created. Now, let me show you how to use WordPress and make the most out of it.
WordPress Blog Email Log-in
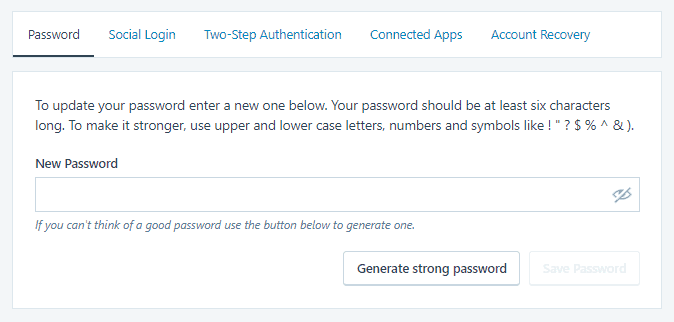
You can directly log-in to your WordPress blog through email address. After logging in to your blog, go to the security settings in your profile.
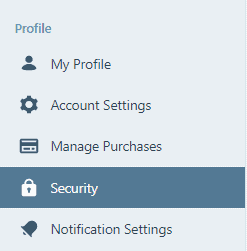
Here, you can set a password for your blog. You can set your own password or let WordPress generate a strong password for you.
Complete Your WordPress Set Up
After your site has been created, you’ll a checklist of items you need to complete. These are some basic things you should complete to properly set up your WordPress site.
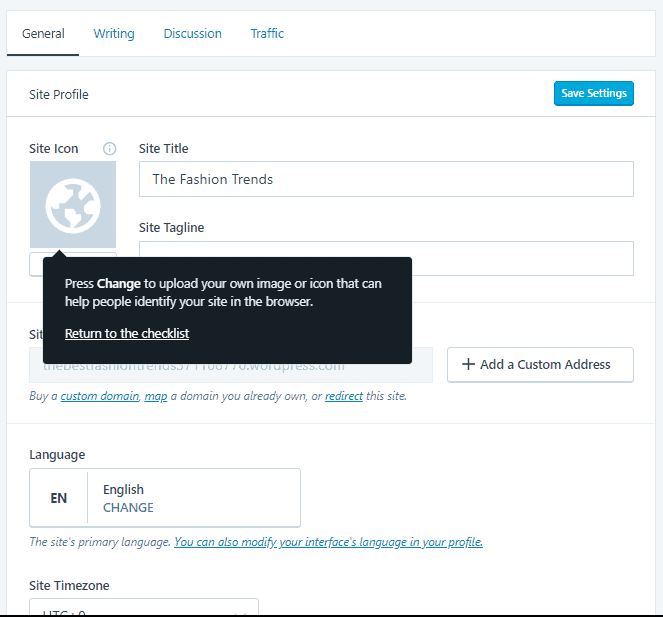
Upload a site icon
The first in the list is uploading a site icon. Every website, even your newly created blog needs an icon. If you have an icon ready for your blog, you can use that. Or you can get one designed from someone on Fiverr for just $5.
If you already have an icon for your site, click on the ‘Do it!’ button.
Once you’re done adding your site icon, click on the return to checklist button.
Create a tagline
Your WordPress blog needs a tagline. A tagline will help you describe your blog in the best way possible.

Choosing A Theme For Your Blog
This is where it all gets fun! You can choose from over hundreds of themes for your blog. There are both free and premium themes available in WordPress.
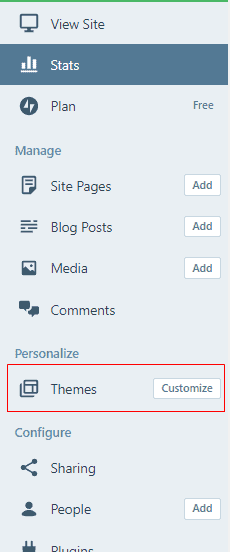
To choose a theme for your blog, click on the themes menu from the sidebar. You can sort themes by their style, layout, features, and more. You can even type what kind of theme you want.
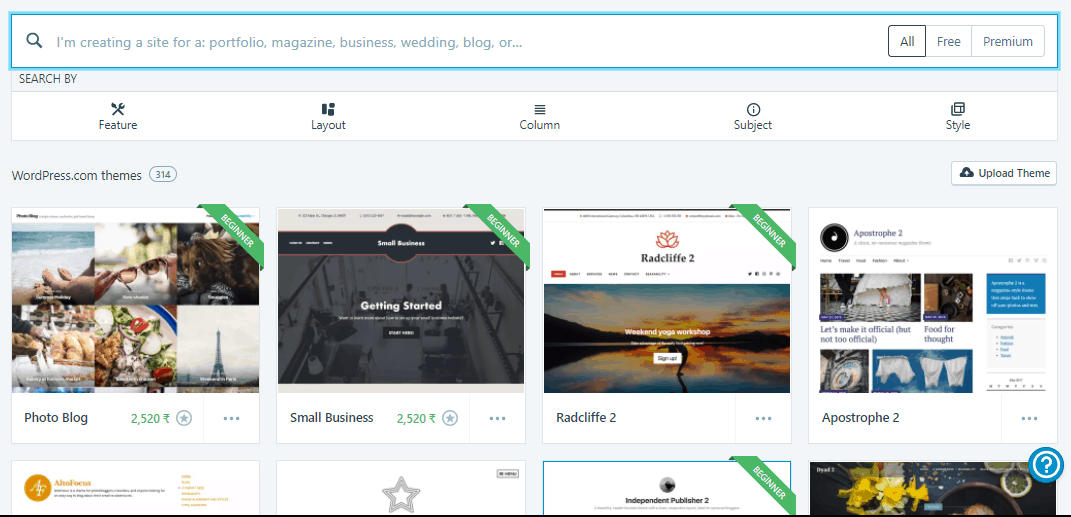
If you like any theme, simply click on it and it will open a popup with an overview of the theme. You can view the live demo of the theme and if you want to use the theme, click on the Activate button to use it on your site.
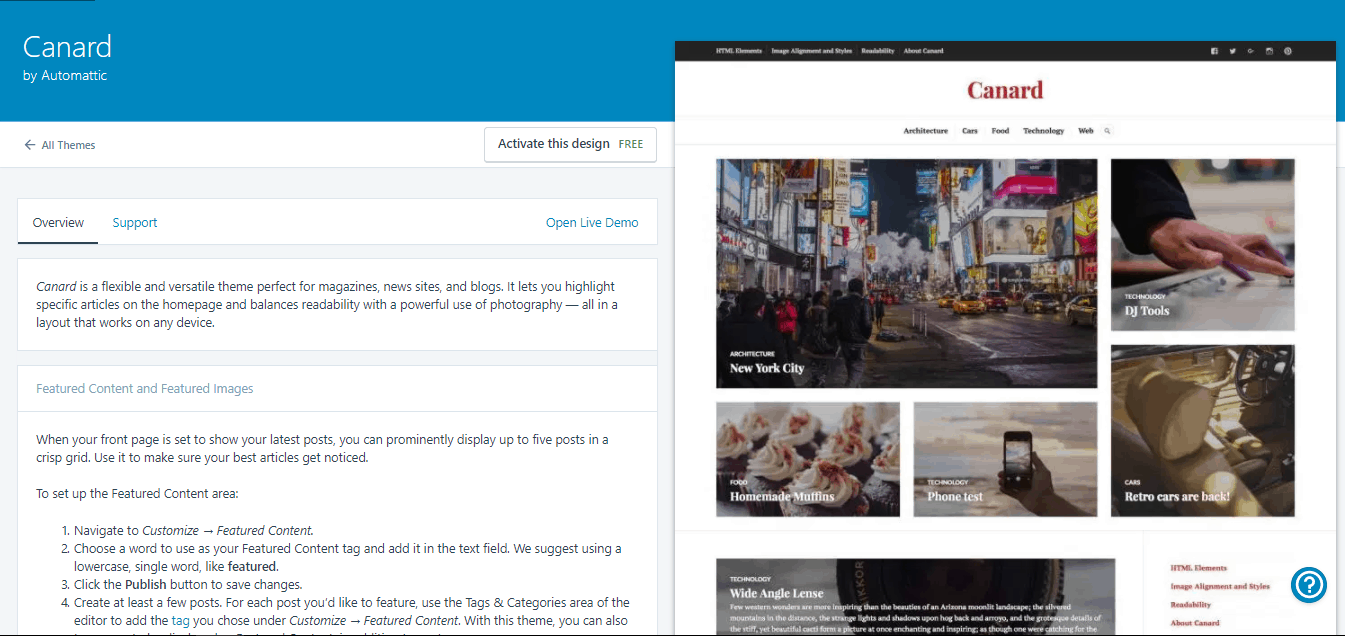
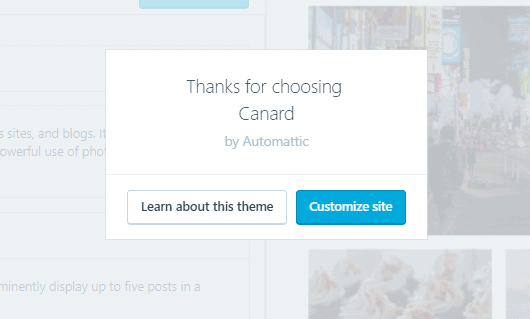
Once activated, you can learn more about the theme or customize your website. Let’s customize the website.
WordPress Theme Customizer
Here’s where all the magic happens. The WordPress theme customizer lets you customize every aspect of your theme. Let’s quickly go through each of the options shown in the image below.

1. Site Identity
Here, you can change the title of your site and its tagline. And if you want to display a logo instead of a the title text, you can upload your website’s logo.
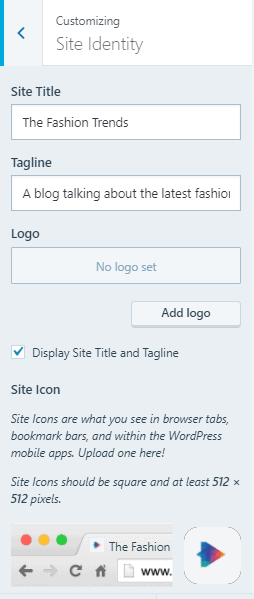
Moreover, there are options to change the site icon and customize the footer credits.
2. Colors & Backgrounds
Want to change the color of your blog? You can do it from the colors & backgrounds settings in the theme customizer.
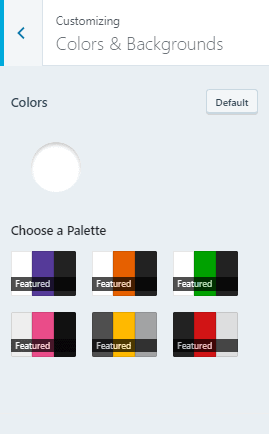
There are 6 color palettes available for you to choose from.
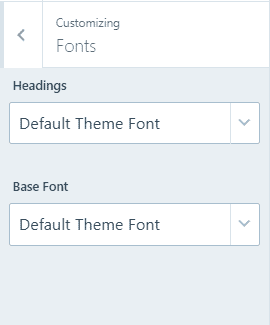
3. Fonts
Choose the fonts of your website. There are many fonts available so that you completely control how your website looks.
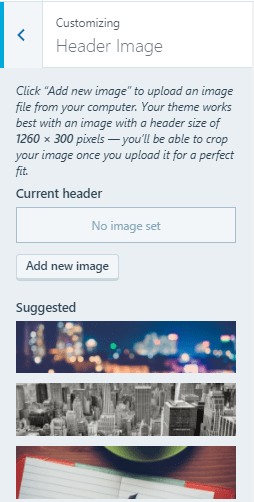
4. Header Image
You can choose to use a header image for your website. There are already a few images you can choose from. You can also upload your own header image.
5. Menus
You can create menus for your website here. You can add posts, pages, and custom links for menu items.

There are options to select the menu location. You can set different menus for header and footer.
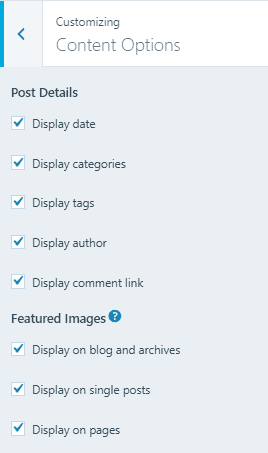
6. Content Options
In the content options menu, you can select what to display in your posts. For now, you can ignore these options and edit them later.
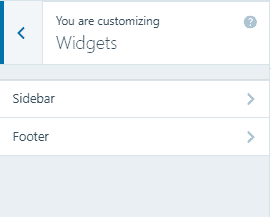
7. Widgets
You can select what widgets to display in the sidebar and footer.
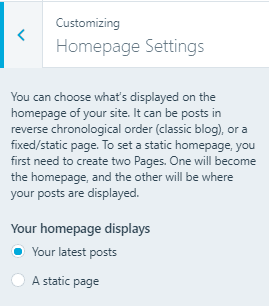
8. Homepage Settings
WordPress gives you an option to choose what to display on your homepage. You can either display a static page which usually contains website information or you can display the latest posts.
So these are the items that are available in the theme customizer settings. Note that some the options in the theme customizer depend on the theme.
This means that some themes may have some extra options and some won’t.
Adding Pages In Your Blog
Now, let me show you how to add pages in your blog. You can create many kinds of pages on your blog.
I would recommend creating about and contact pages for your blog. Apart from this, you can create pages for different purposes.
To create a page, click on Add page button from the sidebar of your WordPress dashboard.

Give a title to your page and add the content you want to add. The WordPress content editor lets you create an awesome page by adding many different types of elements.
This includes media, payment button, contact form etc. You can format your page content by adding lists, using bold and italics, and aligning your content.
On the right-hand side, there are options for your page. You can publish your page, add tags, include a featured image, show sharing buttons etc.
So that’s it about the adding pages on your WordPress blog.
Adding Posts In Your Blog
Just like adding pages, you can create blog posts easily. Click on the Add new post button from the sidebar in your WordPress dashboard.
The post editor is the same and you can make your post the way you want. But for posts, you can choose the post format.
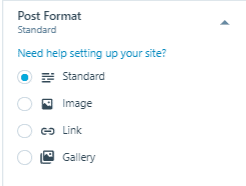
There are four different types of post formats: Standard, Image, Link, Gallery.
Based on the type of post you’re creating, you can select your post format.
For posts, WordPress offers more post options. You can write an excerpt for your post, select location, choose to enable/disable comments, and more.
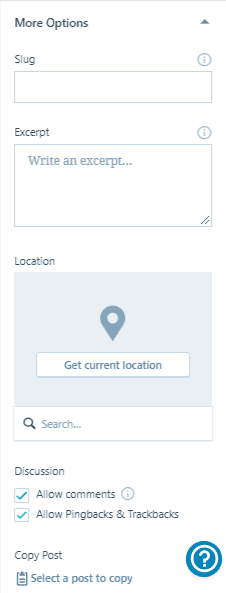
So, that’s how you can create a post in your free WordPress blog.
Managing Comments On Your WordPress Blog
You can manage comments on your WordPress blog very easily. WordPress gives you the ability to approve or delete any comment on your blog.
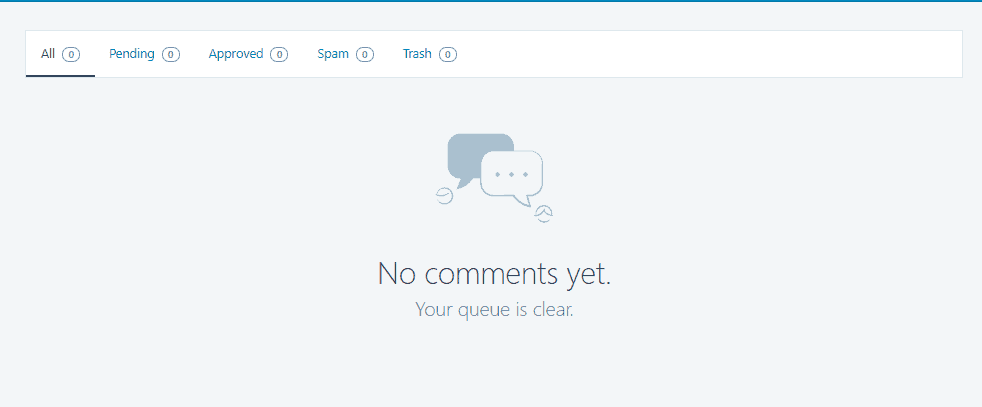
This way you can control your blog comments and prevent spam comments. Click on the comments menu in your WordPress dashboard.
Here, you can see all the comments on your blog. In the pending section, you can view the comments that are still under moderation. The comments under the pending section will not be displayed on your blog until you approve them.
In the approved section, you can see all the comments you approved. The spam section contains comments that you flagged as spam.
And if you ever delete a comment, you’ll be able to find them in the trash section.
Viewing Your Site Stats
Want to know how many people are visiting your blog? You can check them in the site stats menu in your dashboard.
Here, you’ll be able to see the traffic your site got on each day. You can view daily, weekly, and monthly stats too.
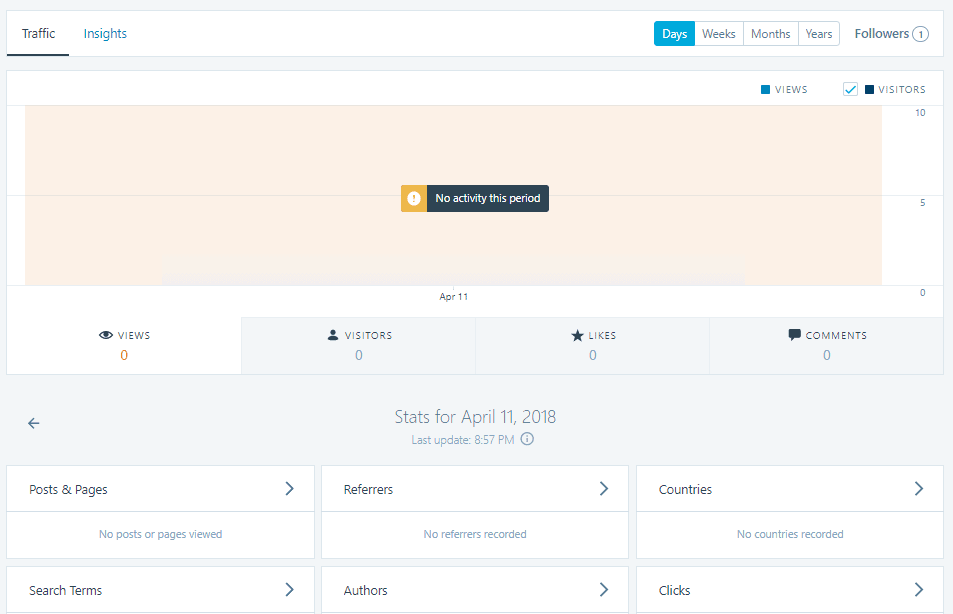
This also shows the likes on your content and the number of comments. The stats dashboard even shows you the traffic each of your pages and posts received.
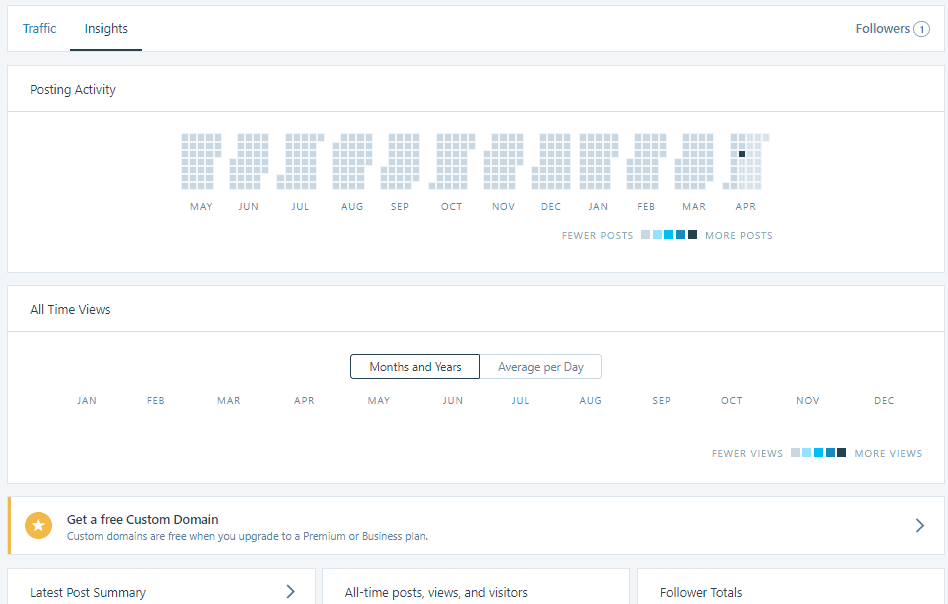
Just next to the traffic stats is a button to switch to insights. The insights view will show you the posting activity and the all time views your blog got. There are more details available under the insights tab.
So that’s all about starting a free blog on WordPress. I know it’s a lot to take in. That’s why I created an FAQ to help you clear your head and understand the most common questions you might have.
FAQ On How To Start A Free Blog On WordPress
1. Do I need to buy hosting to start a free blog on WordPress?
Ans. No, you don’t. If you’re starting a blog on WordPress.com, you don’t need to purchase any hosting. Your blog will be self-hosted on WordPress itself for free.
2. Can I work on my blog offline?
Ans. No, you can’t. To create and manage your WordPress blog, you’ll need an internet connection.
3. How much do I need to pay to start a free blog on WordPress?
Ans. Absolutely nothing. WordPress.com is free to use. But there are premium packages you can choose.
4. Can I choose any theme I want?
Ans. Yes, you can choose any theme for your blog. There are both premium and free themes available.
5. How many pages/posts can I create on my blog?
Ans. As many as you want.
6. Can I change the logo of my blog?
Ans. Yes. In the theme customizer, you can upload your own logo for your blog. You can even set an icon for your blog.
7. Is my blog public to everyone?
Ans. Yes, by default your blog is public to everyone. But you can change the privacy settings of your blog and make it either hidden or private.
8. Can I change my site address after creating my blog?
Ans. Yes, you can change your site address even after creating and publishing your blog. You can even use your own domain after creating your blog.
9. Can other people post on my blog?
Ans. No, unless you don’t add them. In WordPress, you can add users to your blog. These users can then contribute to your blog and add their posts.
10. Can I view the traffic of my blog?
Ans. Yes, you can view the traffic of your blog in the stats page.
Conclusion
So are you ready to start your free WordPress blog? It’s simple and takes only a few steps to set up. You can customize it the way you want and add posts.
If you have any questions regarding starting a blog on WordPress, do ask your questions in the comment section below.
Leave a Reply